'%20/%3e%3cpath%20d='M206%20112%20L206%20232%20L310%20172%20Z'%20fill='%23fff'%20/%3e%3crect%20x='96'%20y='288'%20width='320'%20height='48'%20rx='24'%20fill='%23fff'%20fill-opacity='0.35'%20/%3e%3crect%20x='96'%20y='288'%20width='196'%20height='48'%20rx='24'%20fill='%23fff'%20/%3e%3crect%20x='136'%20y='364'%20width='240'%20height='48'%20rx='24'%20fill='%23fff'%20fill-opacity='0.35'%20/%3e%3c/svg%3e) Kara3
Kara3How to make karaoke subtitles: YouTube lyrics that change color character by character
Updated October 2, 2026
This guide shows you how to make the KTV-style lyric subtitles you often see on YouTube with Kara3: the lyrics take turns on two rows, and each character changes color as it is sung. There's nothing to install: just open the page and start. Your video and subtitles are never uploaded.
What you need:
- A video file of the song, or the video's YouTube URL.
- The lyrics. Ideally as a subtitle file that already has timing (SRT, VTT, ASS or SBV all work). If you don't have one, you can add the lines in the editor while you listen.
1. Open the lyric subtitles
Open the Kara3 editor and choose your subtitle file with File > Import subtitles, or drag the file into the window. The editor detects the format and converts it, and it is saved as srv3 when you export.
If you only have the lyrics as text without timing, open the video first. Play it, and at the start of each line press Ctrl+Enter to add a line, then type the lyrics. [ and ] set the start and end time of the selected line to the current playback position.
2. Open the video
Use File > Open video file to choose a video on your computer, or File > Open YouTube video to paste a URL. A local video only plays in your browser and is not uploaded. A YouTube video needs an internet connection.
3. Convert to karaoke
Choose Subtitles > Convert to karaoke, set the options, and click Convert:
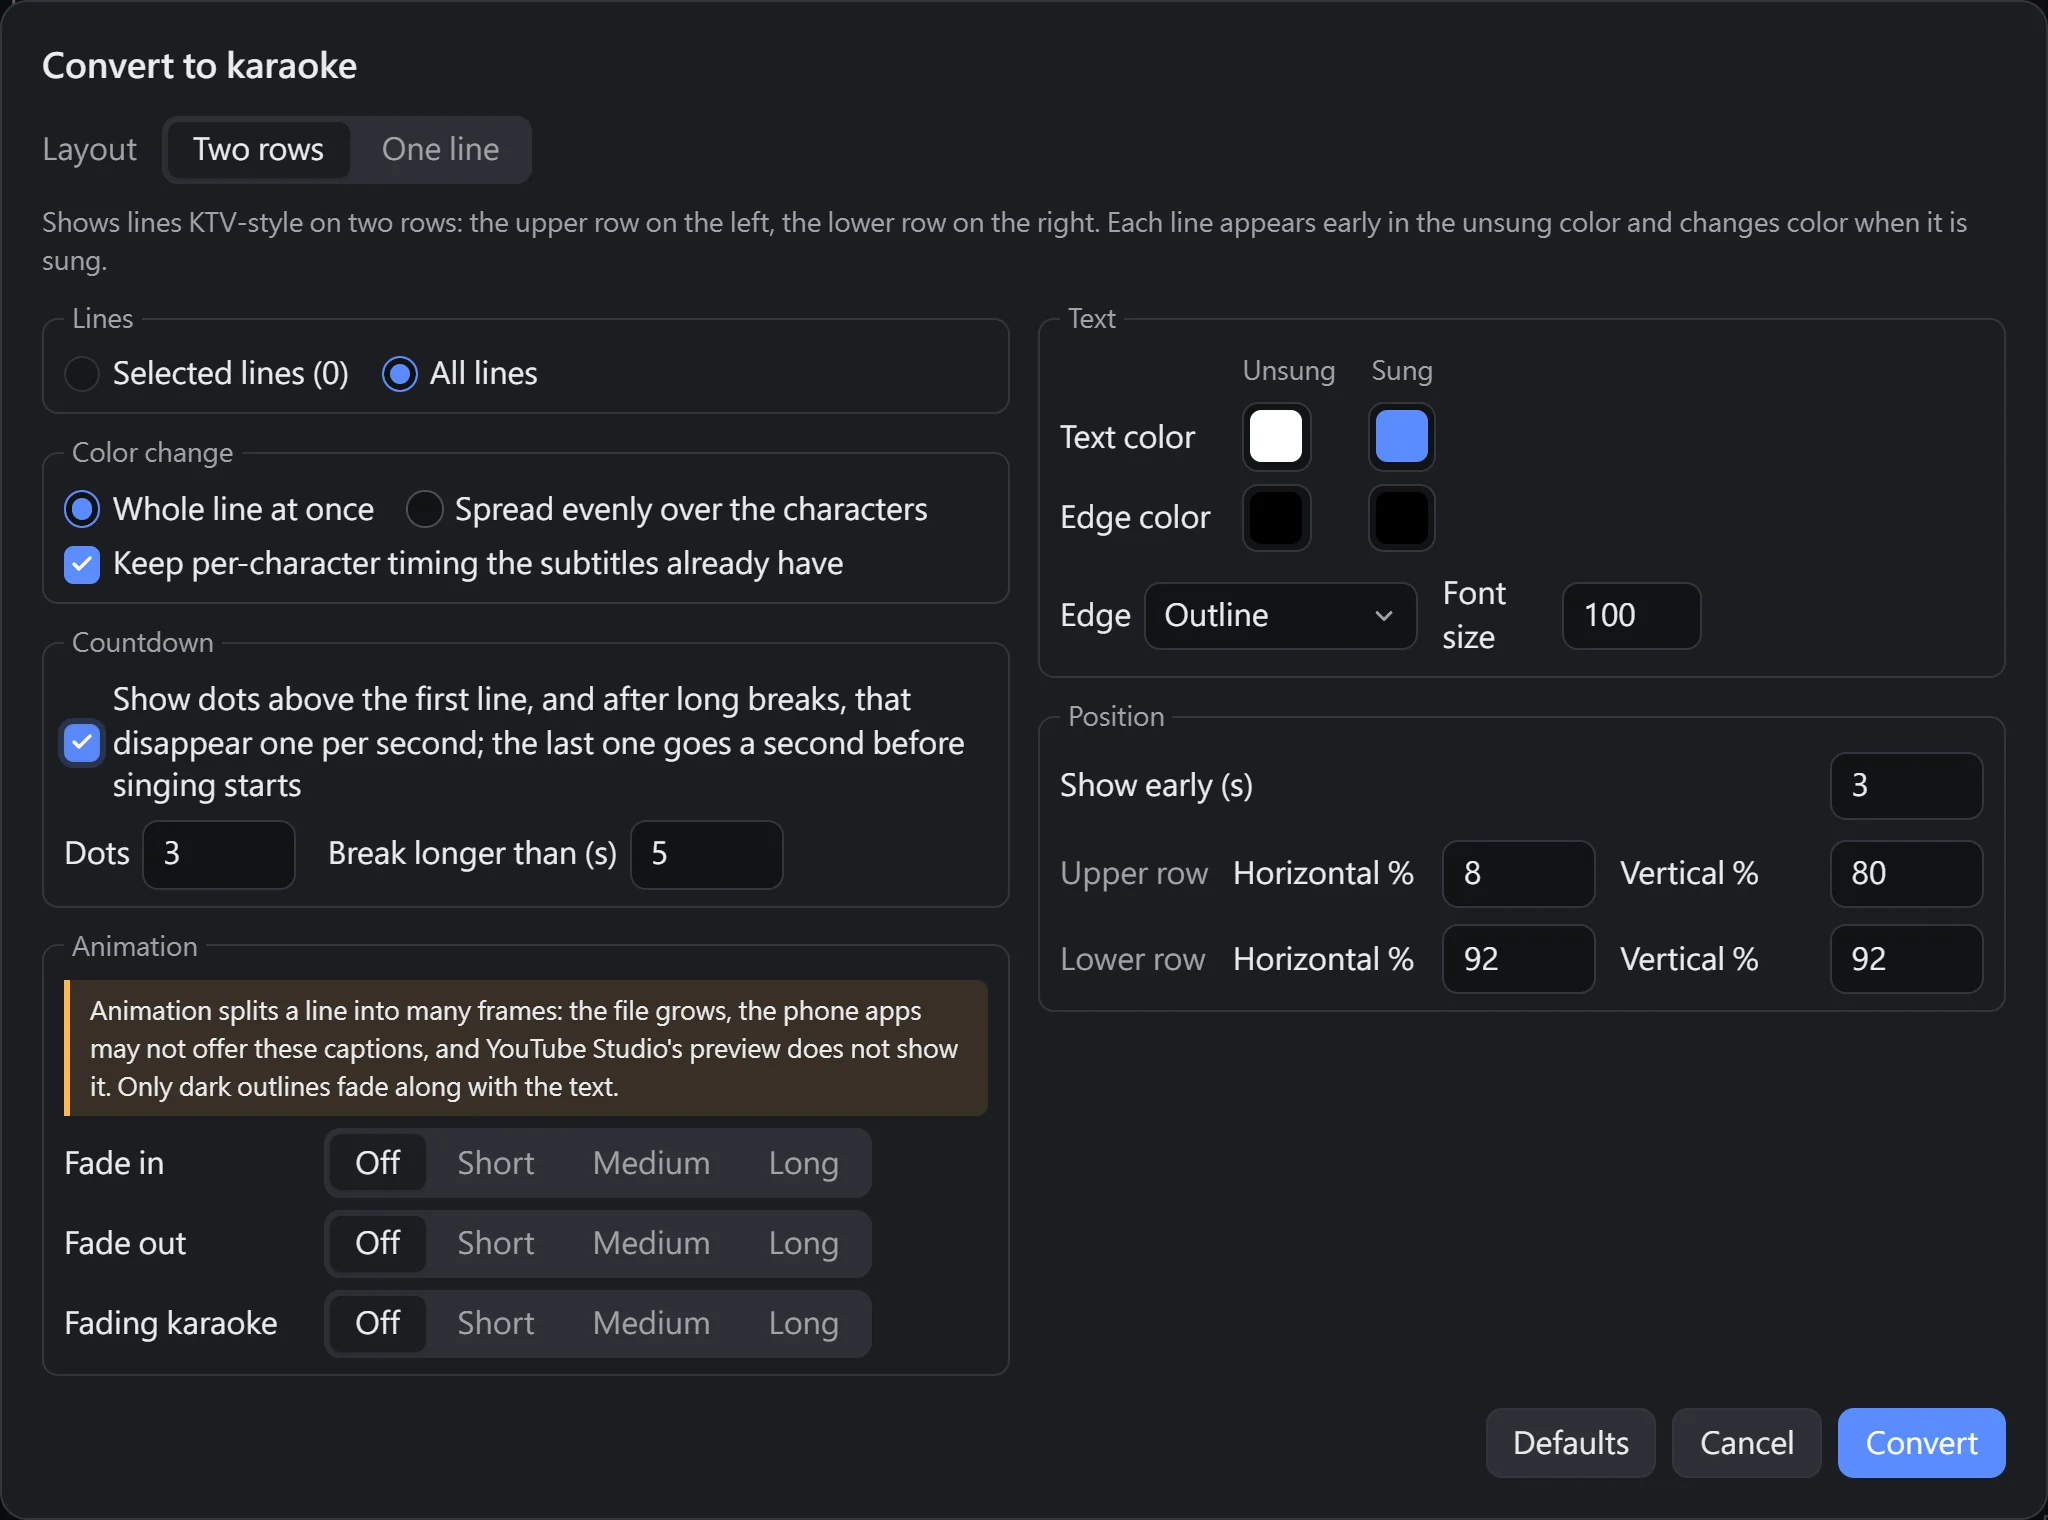
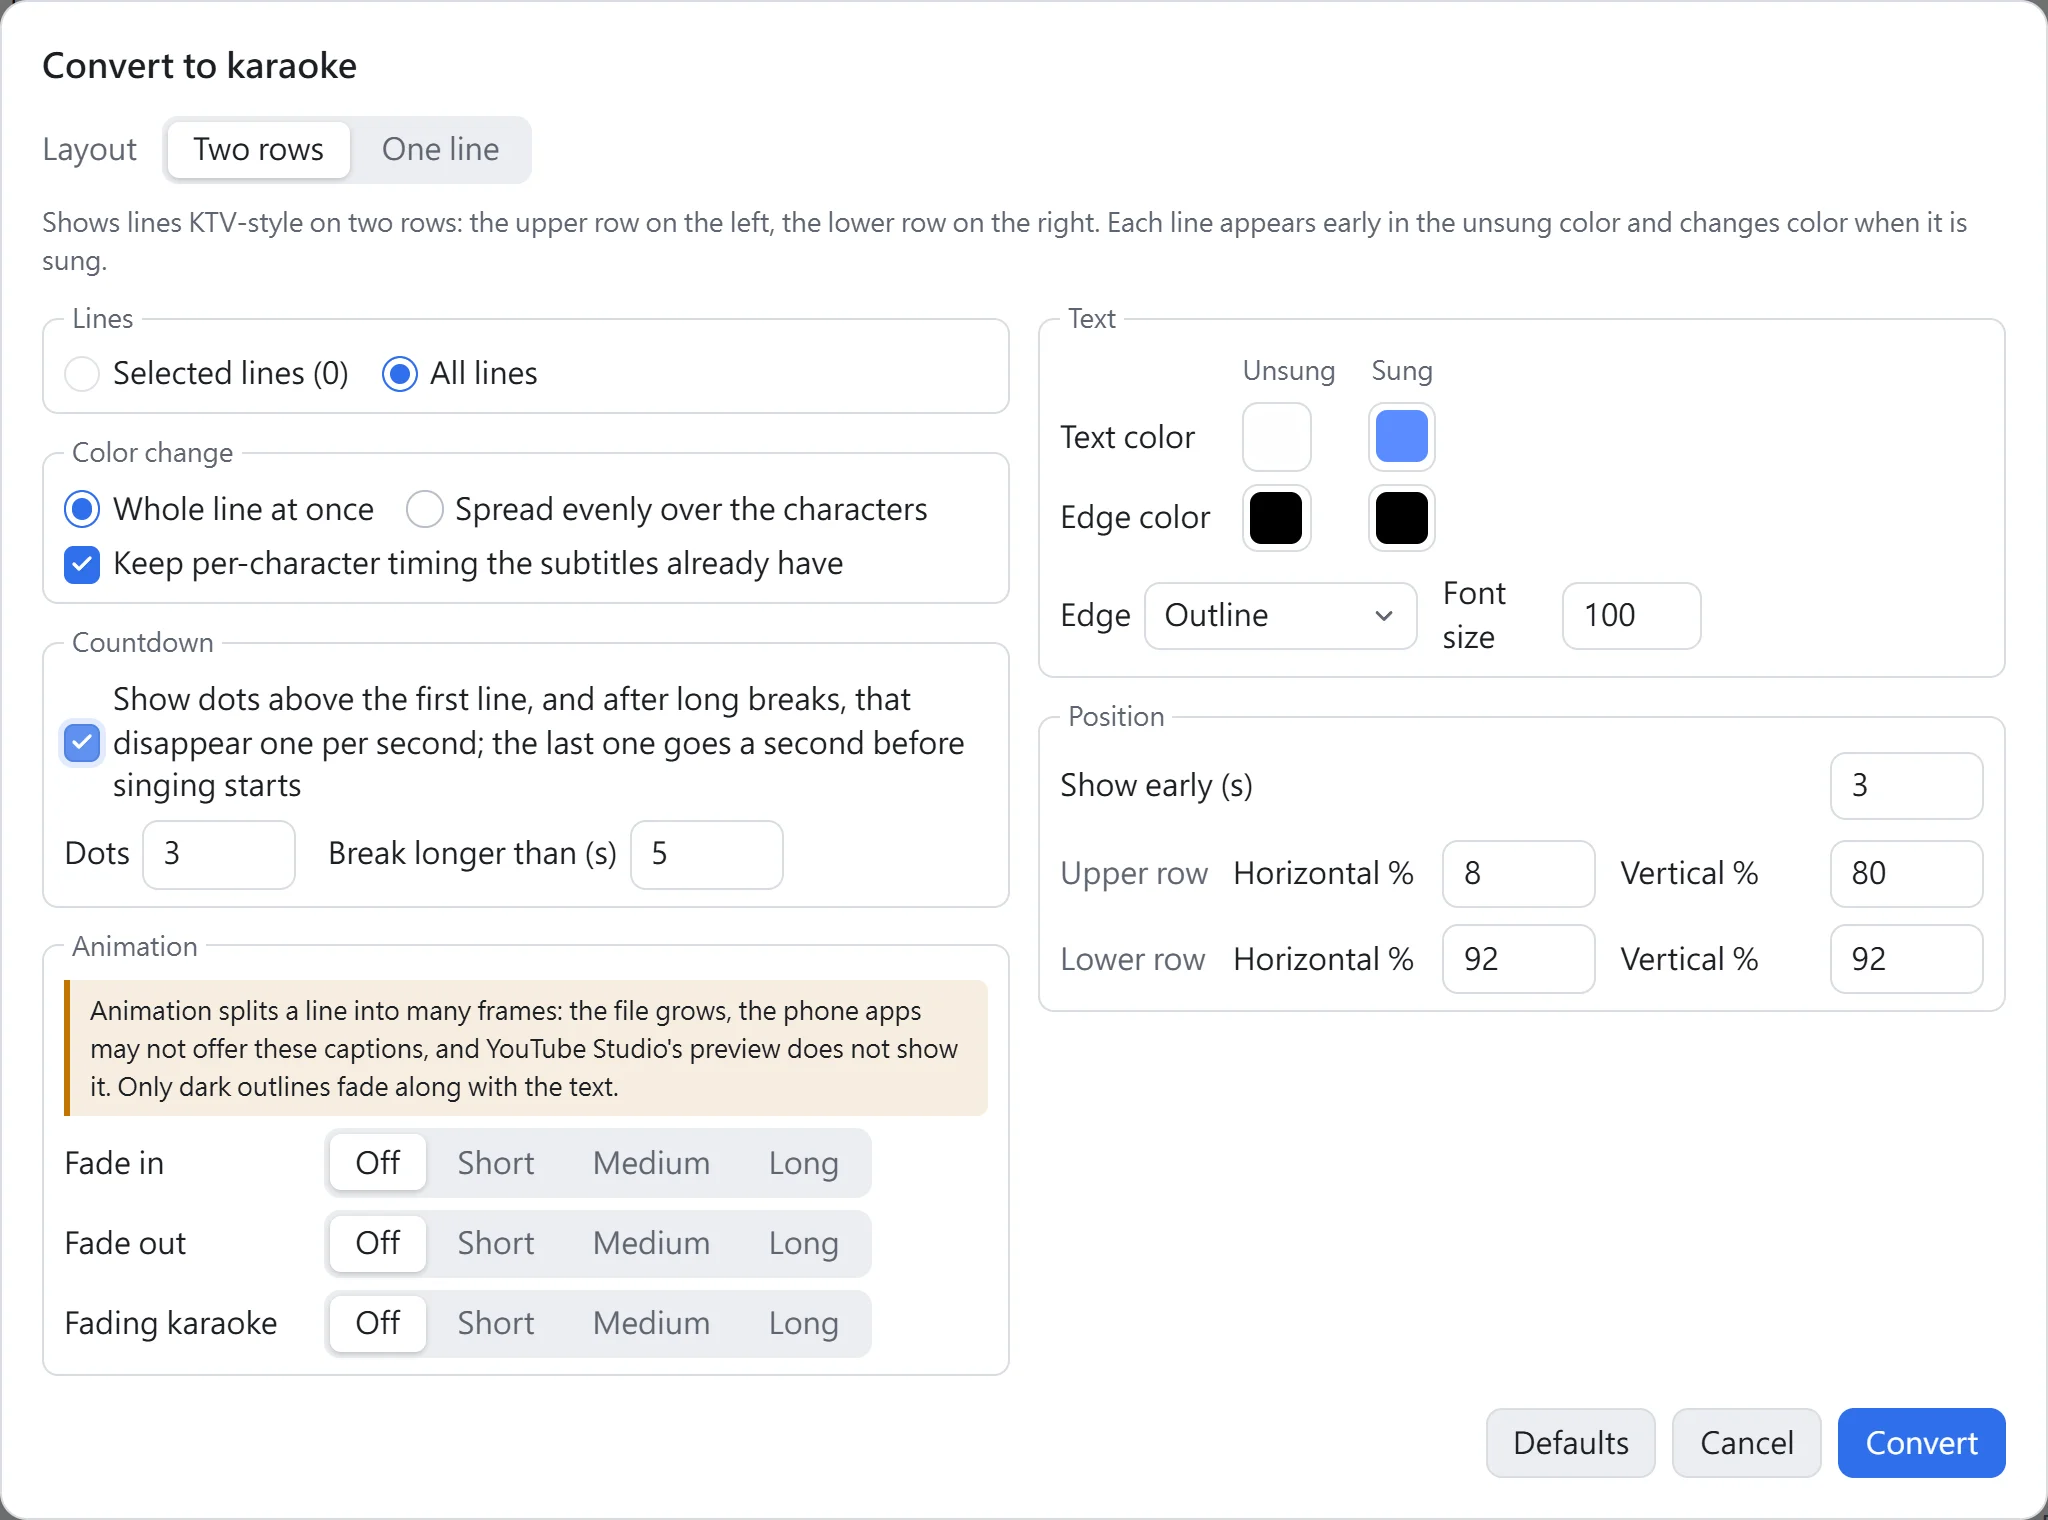
- Layout: Two rows is the usual KTV layout, with the upper row on the left and the lower row on the right, taking turns. One line shows one line at a time.
- Color change: Whole line at once changes the color of the whole line when it starts. Spread evenly over the characters splits the line's time evenly between its characters. That gives you a rough character-by-character color change, which you then fix by tapping.
- Show early: the next line appears early in the unsung color, so viewers have time to read the lyrics.
- Countdown: shows dots above the first line, and above the first line after an instrumental break. One dot disappears each second, so viewers know when to start singing.
After converting, you can undo the whole conversion with Ctrl+Z. If you don't like the result, change the options and convert again.
4. Tap the timing
To make each character change color exactly with the singing, you "tap" the timing: listen to the song and press a key as each syllable starts. Tap timing mode turns on by itself after you convert to karaoke, and you can turn it on and off with Subtitles > Tap timing mode (Alt+T).
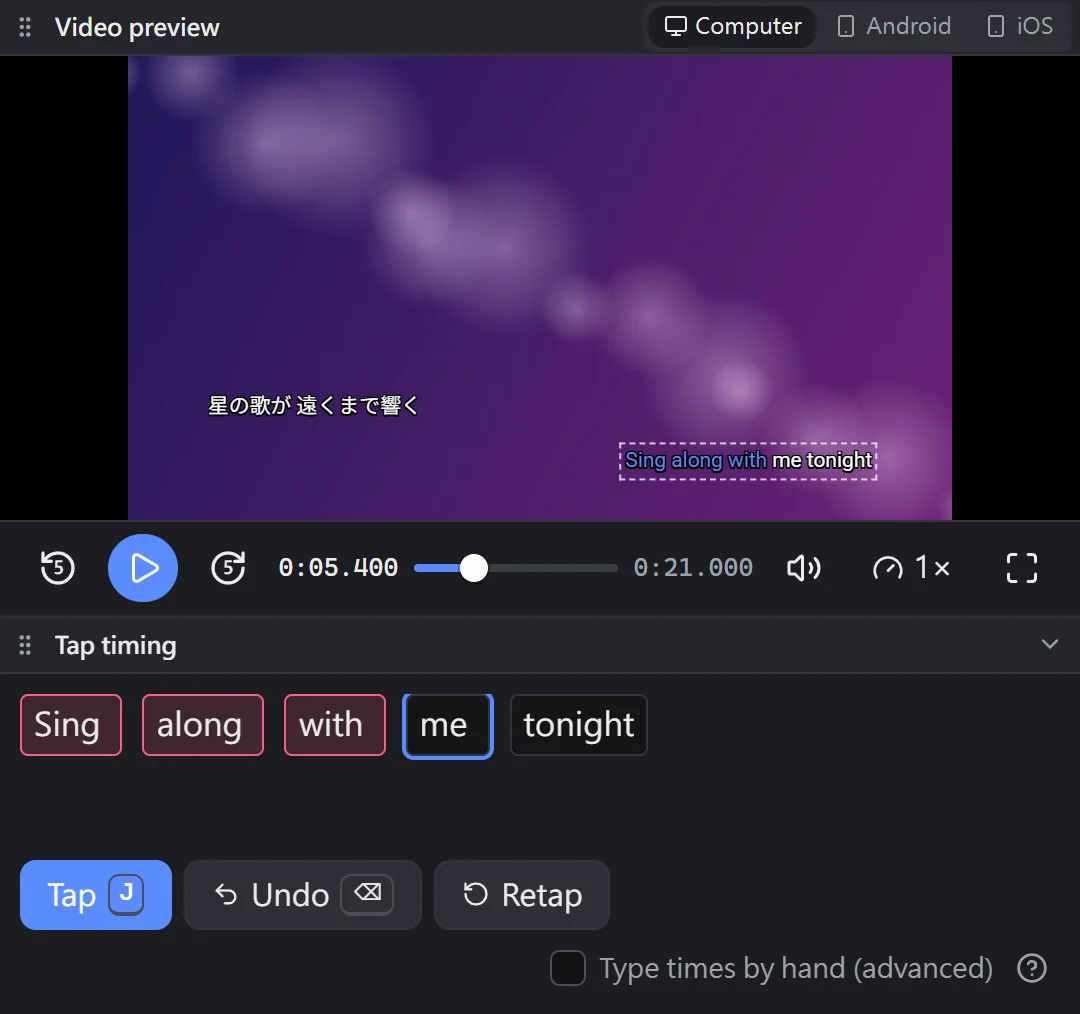
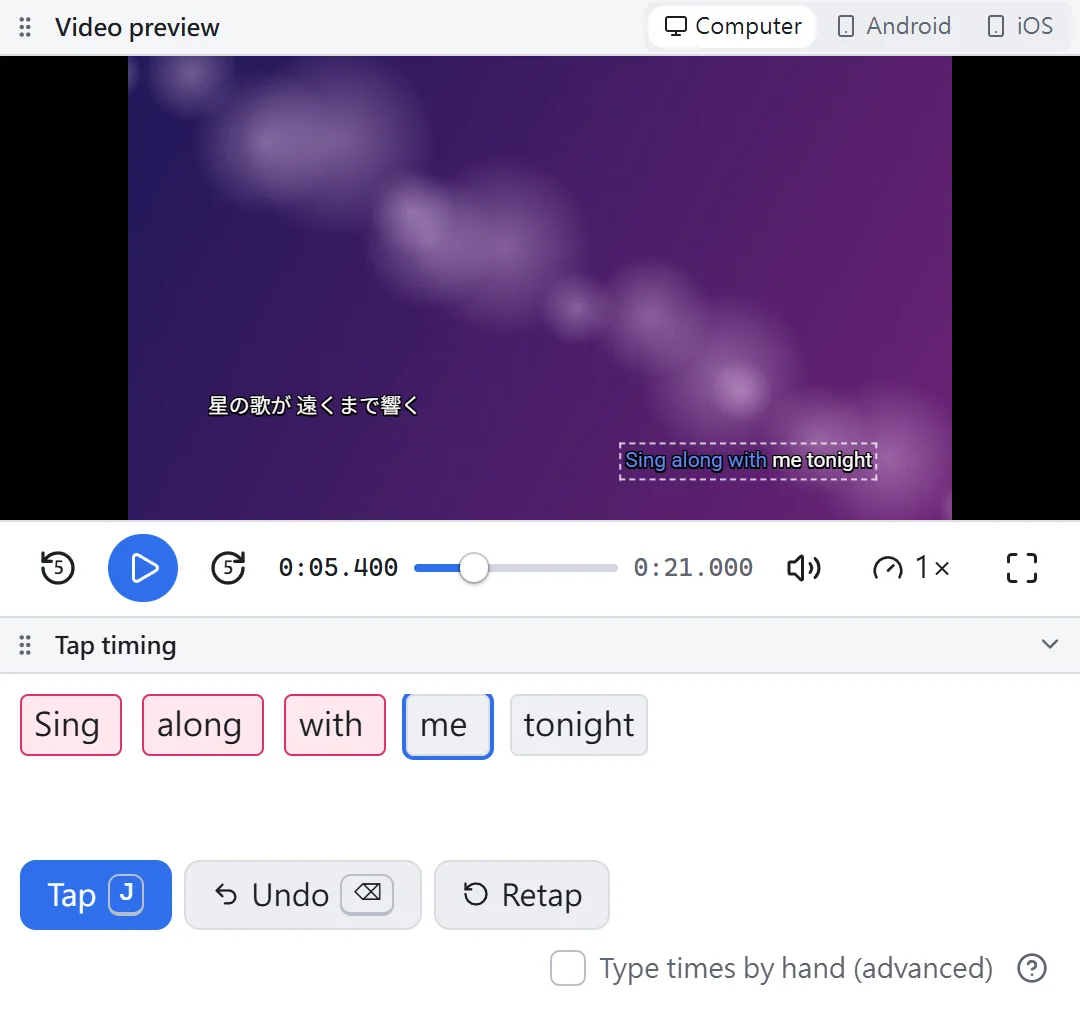
- Select a line and play the video.
- Press J the moment each syllable starts. The tap area marks the next syllable to tap, and after the last syllable it moves to the next line on its own.
- If you tap wrong, click Undo to go back one tap, or Retap to start the line over.
How syllables are split: each Chinese, Japanese or Korean character is one syllable, each English word is one syllable, and a character with ruby (furigana) counts as one syllable together with its ruby. To split them finer or coarser, click inside a syllable in the tap area to split it, or click between two syllables to join them.
Tip: slow down the playback speed in the player bar and your taps will be much more accurate. For fine adjustments, open Type times by hand (advanced) and edit the numbers directly.
5. Set colors and position
Open the style panel with View > Style panel (Alt+S). Changes apply to the selected lines:
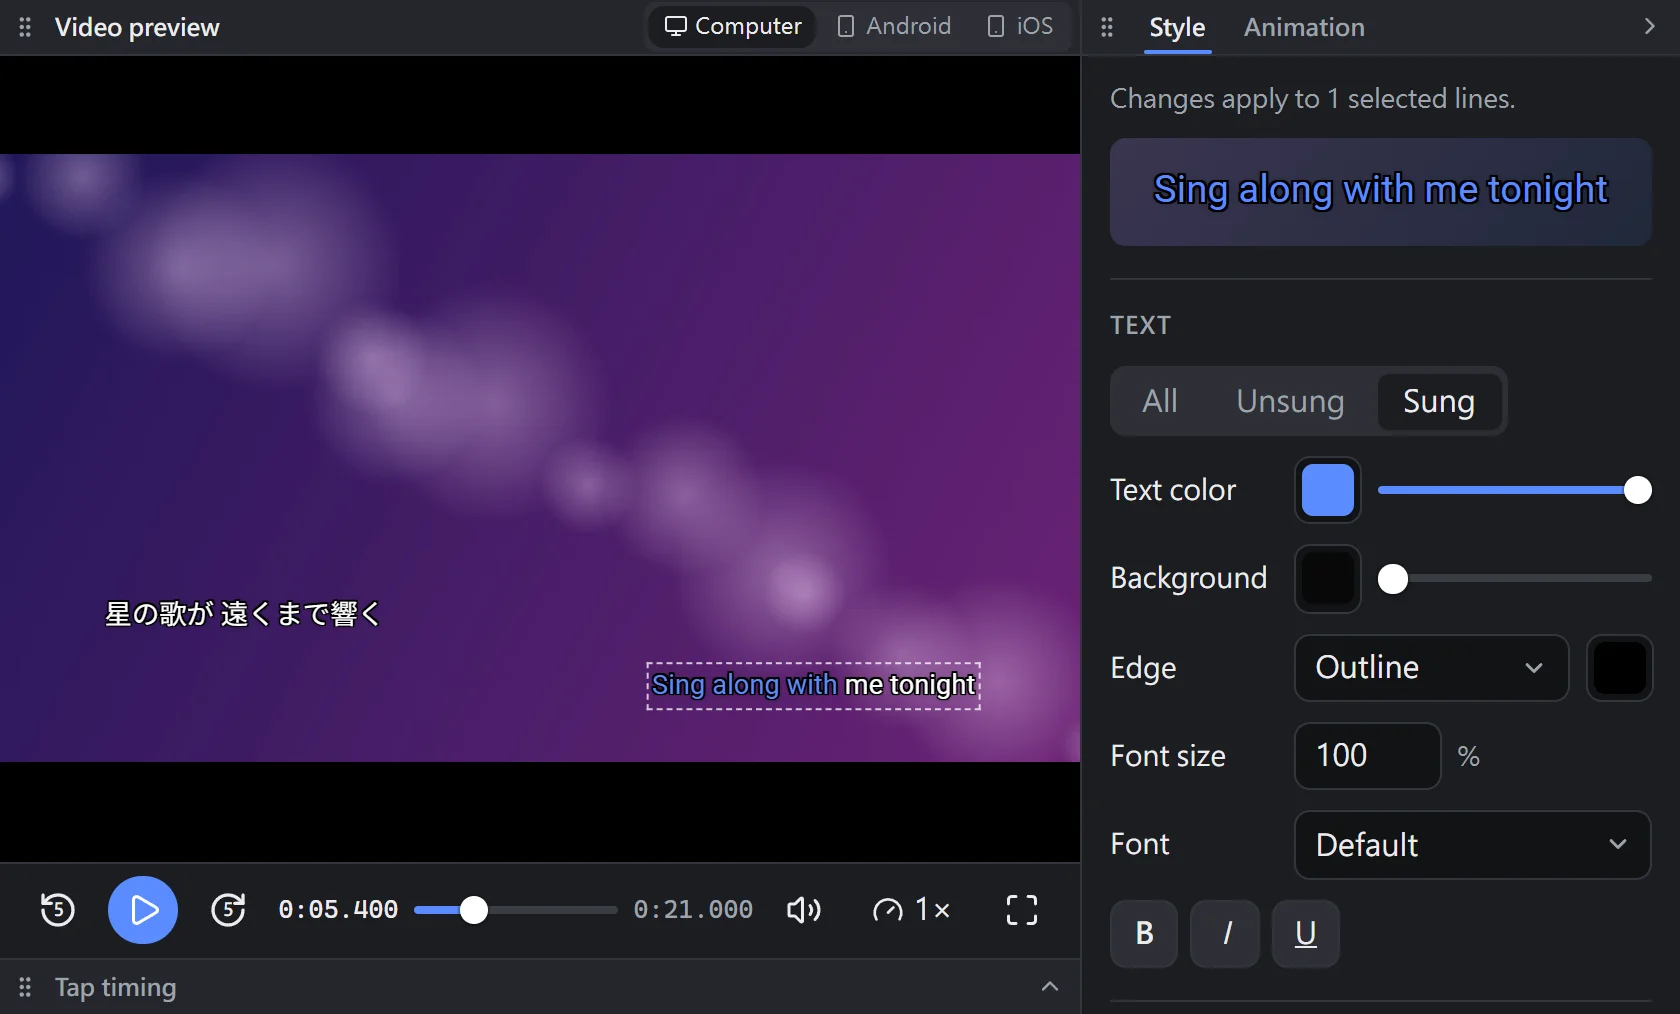
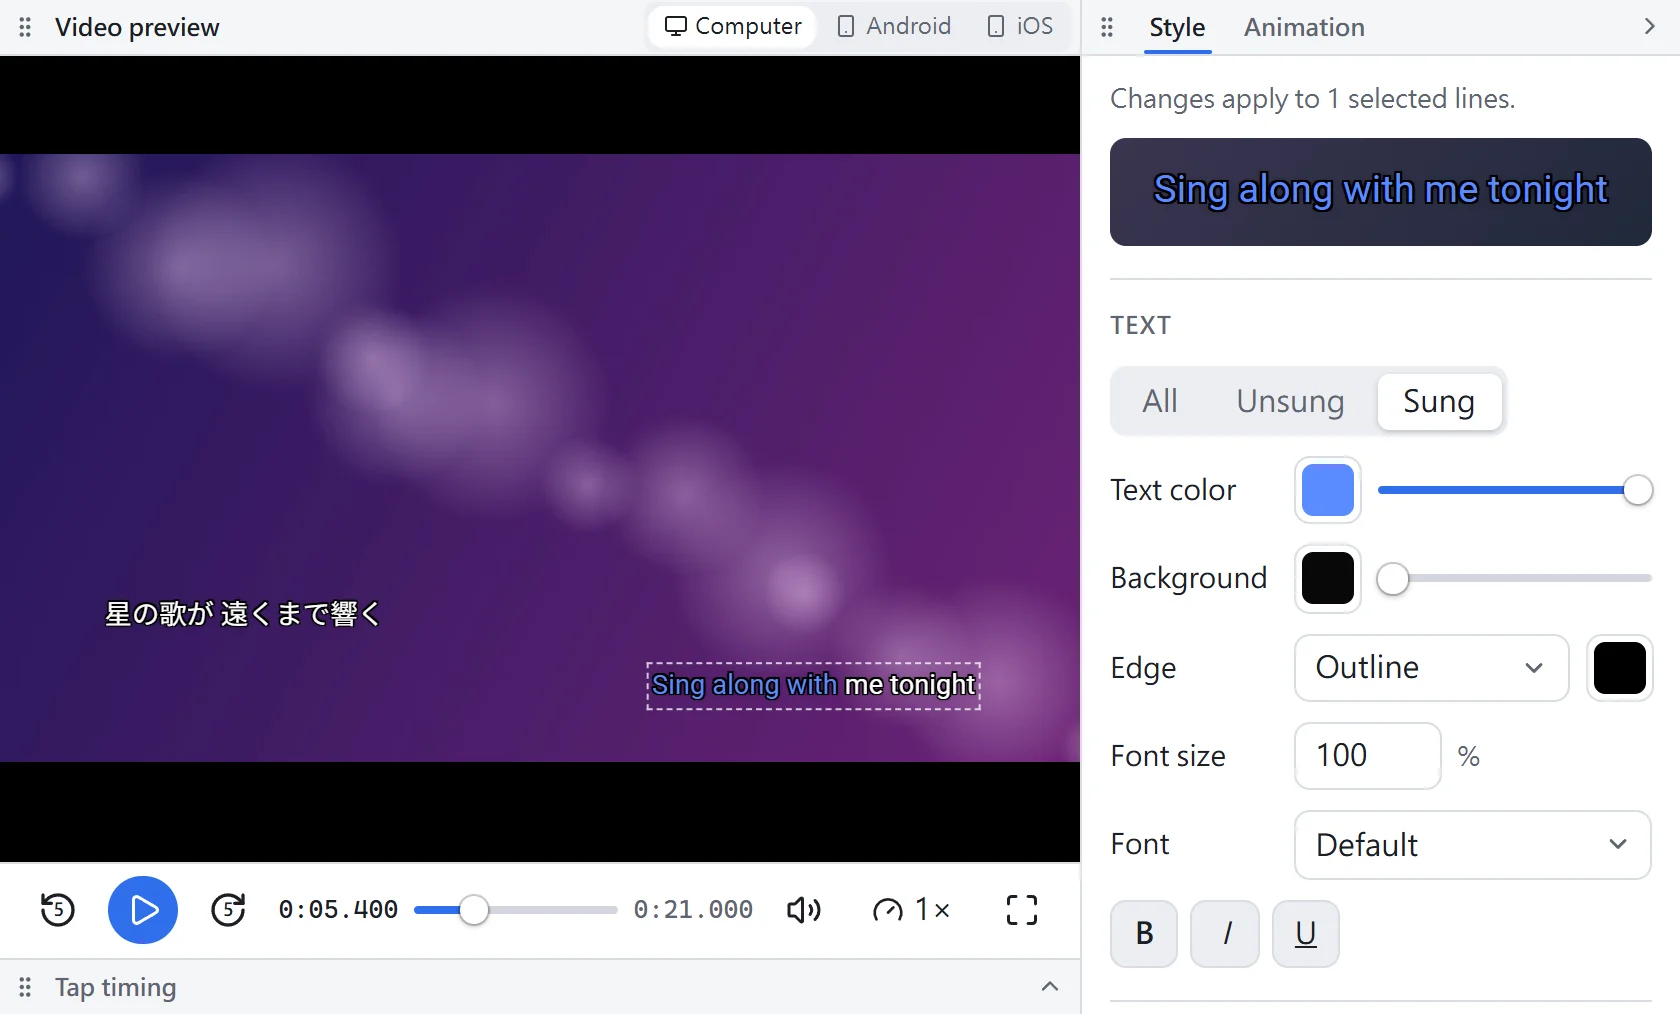
- Applies to: choose Unsung or Sung to set the style before and after a part is sung separately, or All to change both at once.
- Text color, Edge, Font size, Font: it's a good idea to keep the edge, so the lyrics stay readable on bright scenes.
- Position: pick a spot on screen from the 3×3 grid, or enter horizontal and vertical percentages. You can also drag the subtitles on the video.
6. Save and upload to YouTube
Kara3 saves two kinds of files:
- Project file (
.kara3): press Ctrl+S to save. It keeps all your edits (including animation settings), the video you used and where you were working. Open it later with File > Open to carry on. - Subtitle file (
.srv3): made with File > Export srv3 (Ctrl+E). This is the file you upload to YouTube. In the save dialog you can also choose.ytt(YouTube Timed Text) instead. The content is the same.
Then go to YouTube Studio:
- Open the video's Subtitles page and choose the language to add subtitles for.
- When you upload the file, choose With timing.
- Choose the file you just exported, then publish.
After uploading, the subtitle editor in Studio doesn't show colors or positions. This is normal. Open the video's watch page and turn on subtitles to check the result, and don't edit these subtitles in Studio, or the styles may be lost. To make changes, edit them in Kara3 and upload again.
Common questions
What if I close the tab halfway through?
Kara3 saves your work in the browser automatically. When you open the editor again you can restore it, undo history included. The autosave only lives in this browser, though, so it's gone if you switch computers or clear your browsing data. When you're done, press Ctrl+S to save a project file.
Why does it look different on my phone?
The YouTube phone apps support less of srv3 than the computer version. For example, the background is always black, and ruby (furigana) becomes text in parentheses. See "What is srv3?" for details.